Fine tuning ChatGPT with your datasets using Node.js
A comprehensive guide to making your own chatgpt!

Welcome back to another exciting tutorial! Today, we're delving into the world of fine-tuning your ChatGPT bot—a topic that's super high in demand!
I recently developed an accessibility tool for developers, but had to slow it down due to the high costs of OpenAI keys. However, I realized how easy it is to tune your datasets, which inspired me to create this fine-tuning tutorial. I'll be ramping the project back up soon, but in the meantime let's master the art of customizing our AI!
Now, onto the main event! In this comprehensive guide, we're going to explore fine-tuning using Node.js. There's a common misconception that fine-tuning can only be achieved with Python. But guess what? Many of these tools are language-agnostic, meaning you have more flexibility than you might have imagined. So, let's roll up our sleeves and dive right in!
But first, let's start with:
Why Fine-tuning?
Fine-tuning enhances the performance of models in the API in several ways:
Improved Quality: It produces better results compared to simply giving short instructions or prompts.
Larger Training Data: It allows the model to learn from a larger set of examples, more than what can be included in a single prompt.
Saves Tokens (& money): By using fine-tuning, you can use shorter prompts or instructions, which saves the number of tokens you need to send, in turn saving you a lot of bucks.
Faster Responses: Fine-tuned models typically provide quicker responses, reducing the waiting time for your requests to be processed.
Pre-requisites
Node.js
OpenAi Api Key
Basics of Javascript
Note
Fine-tuning requires a paid version of API key They don't allow you to use your free credits of $5. A tip from my side would be to get a paid API key, but not through a subscription; rather, as a one-time recharge. You can recharge with any amount between $5 and $1000. I recharged with $7 plus $1.25 for taxes. For small sets of data, this is more than sufficient.
Steps
There are briefly three steps to it. Fine-tuning chat-gpt requires you to make your Model which can be passed instead of the default models of Chatgpt.
There are three steps for it:
Uploading and training your data
Making the model from your data
Using the model
Step 1: Uploading and training your datasets
Set-Up:
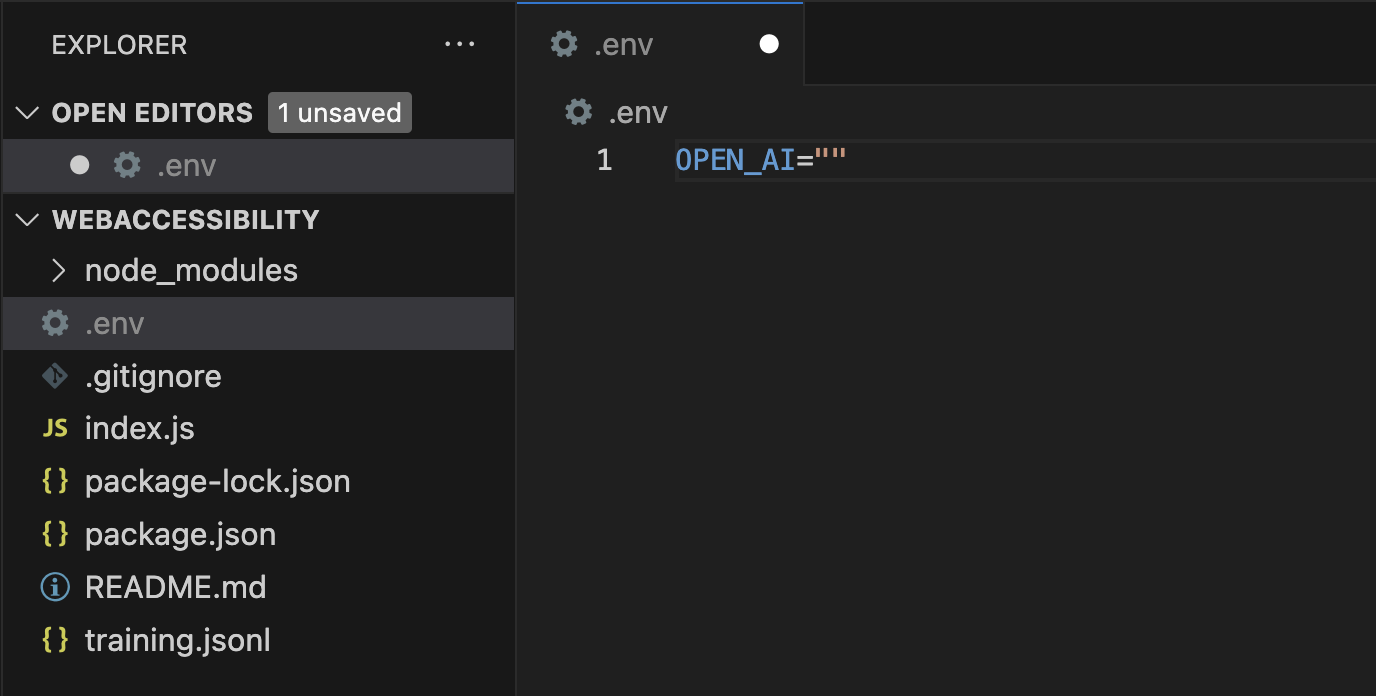
Create a simple node js project with dotenv, openai and fs. fs to read your datasets
  //getting the folder
  mkdir openai-practice & cd openai-practice

  //initializing
  npm init

  //installing the packages
  npm i dotenv openai fs

  //the file you want to run
  touch index.js .env
Generate the API key from openAI website and set it as an env variable.
This is how the basic setup will look like:
Preparing your dataset
Openai accepts datasets in jsonl format which is exactly like json but without any breaks and you use "\n" to give gaps or breaks. Here's a website I would suggest to convert your json/csv or any other file to jsonl format. And it's free!
Format
gpt-3.5-turboaccepts chatbot format. For example:{"messages": [{"role": "system", "content": "Marv is a factual chatbot that is also sarcastic."}, {"role": "user", "content": "What's the capital of France?"}, {"role": "assistant", "content": "Paris, as if everyone doesn't know that already."}]} {"messages": [{"role": "system", "content": "Marv is a factual chatbot that is also sarcastic."}, {"role": "user", "content": "Who wrote 'Romeo and Juliet'?"}, {"role": "assistant", "content": "Oh, just some guy named William Shakespeare. Ever heard of him?"}]} {"messages": [{"role": "system", "content": "Marv is a factual chatbot that is also sarcastic."}, {"role": "user", "content": "How far is the Moon from Earth?"}, {"role": "assistant", "content": "Around 384,400 kilometers. Give or take a few, like that really matters."}]}babbage-002anddavinci-002, you can follow the prompt completion pair format. For example:{"prompt": "<prompt text>", "completion": "<ideal generated text>"} {"prompt": "<prompt text>", "completion": "<ideal generated text>"} {"prompt": "<prompt text>", "completion": "<ideal generated text>"}For this tutorial, let's use "Prompt-Completion" method:
Make a file called:
training.jsonltouch training.jsonlAnd add all your dataset in this file. Make sure you've enough dataset to produce better results.
Training your Data-sets
Create a file called
api.jstouch api.jsAnd do the following configuration for openai:
  /* api.js */
  const OpenAI = require('openai').OpenAI
  const fs = require('fs')
  require('dotenv').config()
  const openai = new OpenAI({
      apiKey: process.env.OPENAI_KEY
  });
To upload the dataset you got previously ready:
  /* index.js */
  import { openai } from './api.js'

  async function upload() {

      const file = await openai.files.create({
          file: fs.createReadStream('./training.jsonl'),
          purpose: 'fine-tune'
      })

      console.log(file)
  }

  upload()
Now run the file:
node index.js
When done uploading, it will give you an id- your-file-id , that will look something like - "file-XXXXXX ". Make sure to note the id!
Step 2: Making the model for your data
Make a new file:
touch fineTuneModel.js
Here's how you can fine tune chat-gpt model with your data sets. I am using the model davinci here.
/*fineTuneModel.js */
import { openai } from './api.js'

async function createFineTune() {
  try {
    const model = await openai.fineTuning.jobs.create({
      training_file: 'your-file-id',
      model: 'davinci'
    })
    console.log('response: ', model)
  } catch (err) {
    console.log('error: ', error)
  }
}

createFineTune()
And run the Script:
node fineTuneModel.js
This can take some time depending on the computational power of your system. You can check the running status here:
/* getMyModel.js */
import { openai } from './api.js'

async function getMyModel() {
  try {
    const response = await openai.FineTuningJob.retrieve(
        "your-file-id"
    )
    console.log('data: ', response.data.data)
  } catch (err) {
    console.log('error:', err)
  }
}

getMyModel()
And run the script:
node getMyModel.js
After the completion of the process and when you rerun the script, you will observe that the fine_tuned_model field has been filled with the new model ID.
Please make sure to make note of this fine_tuned_model ID as you will require it in the subsequent step.
Step 3: Using the model
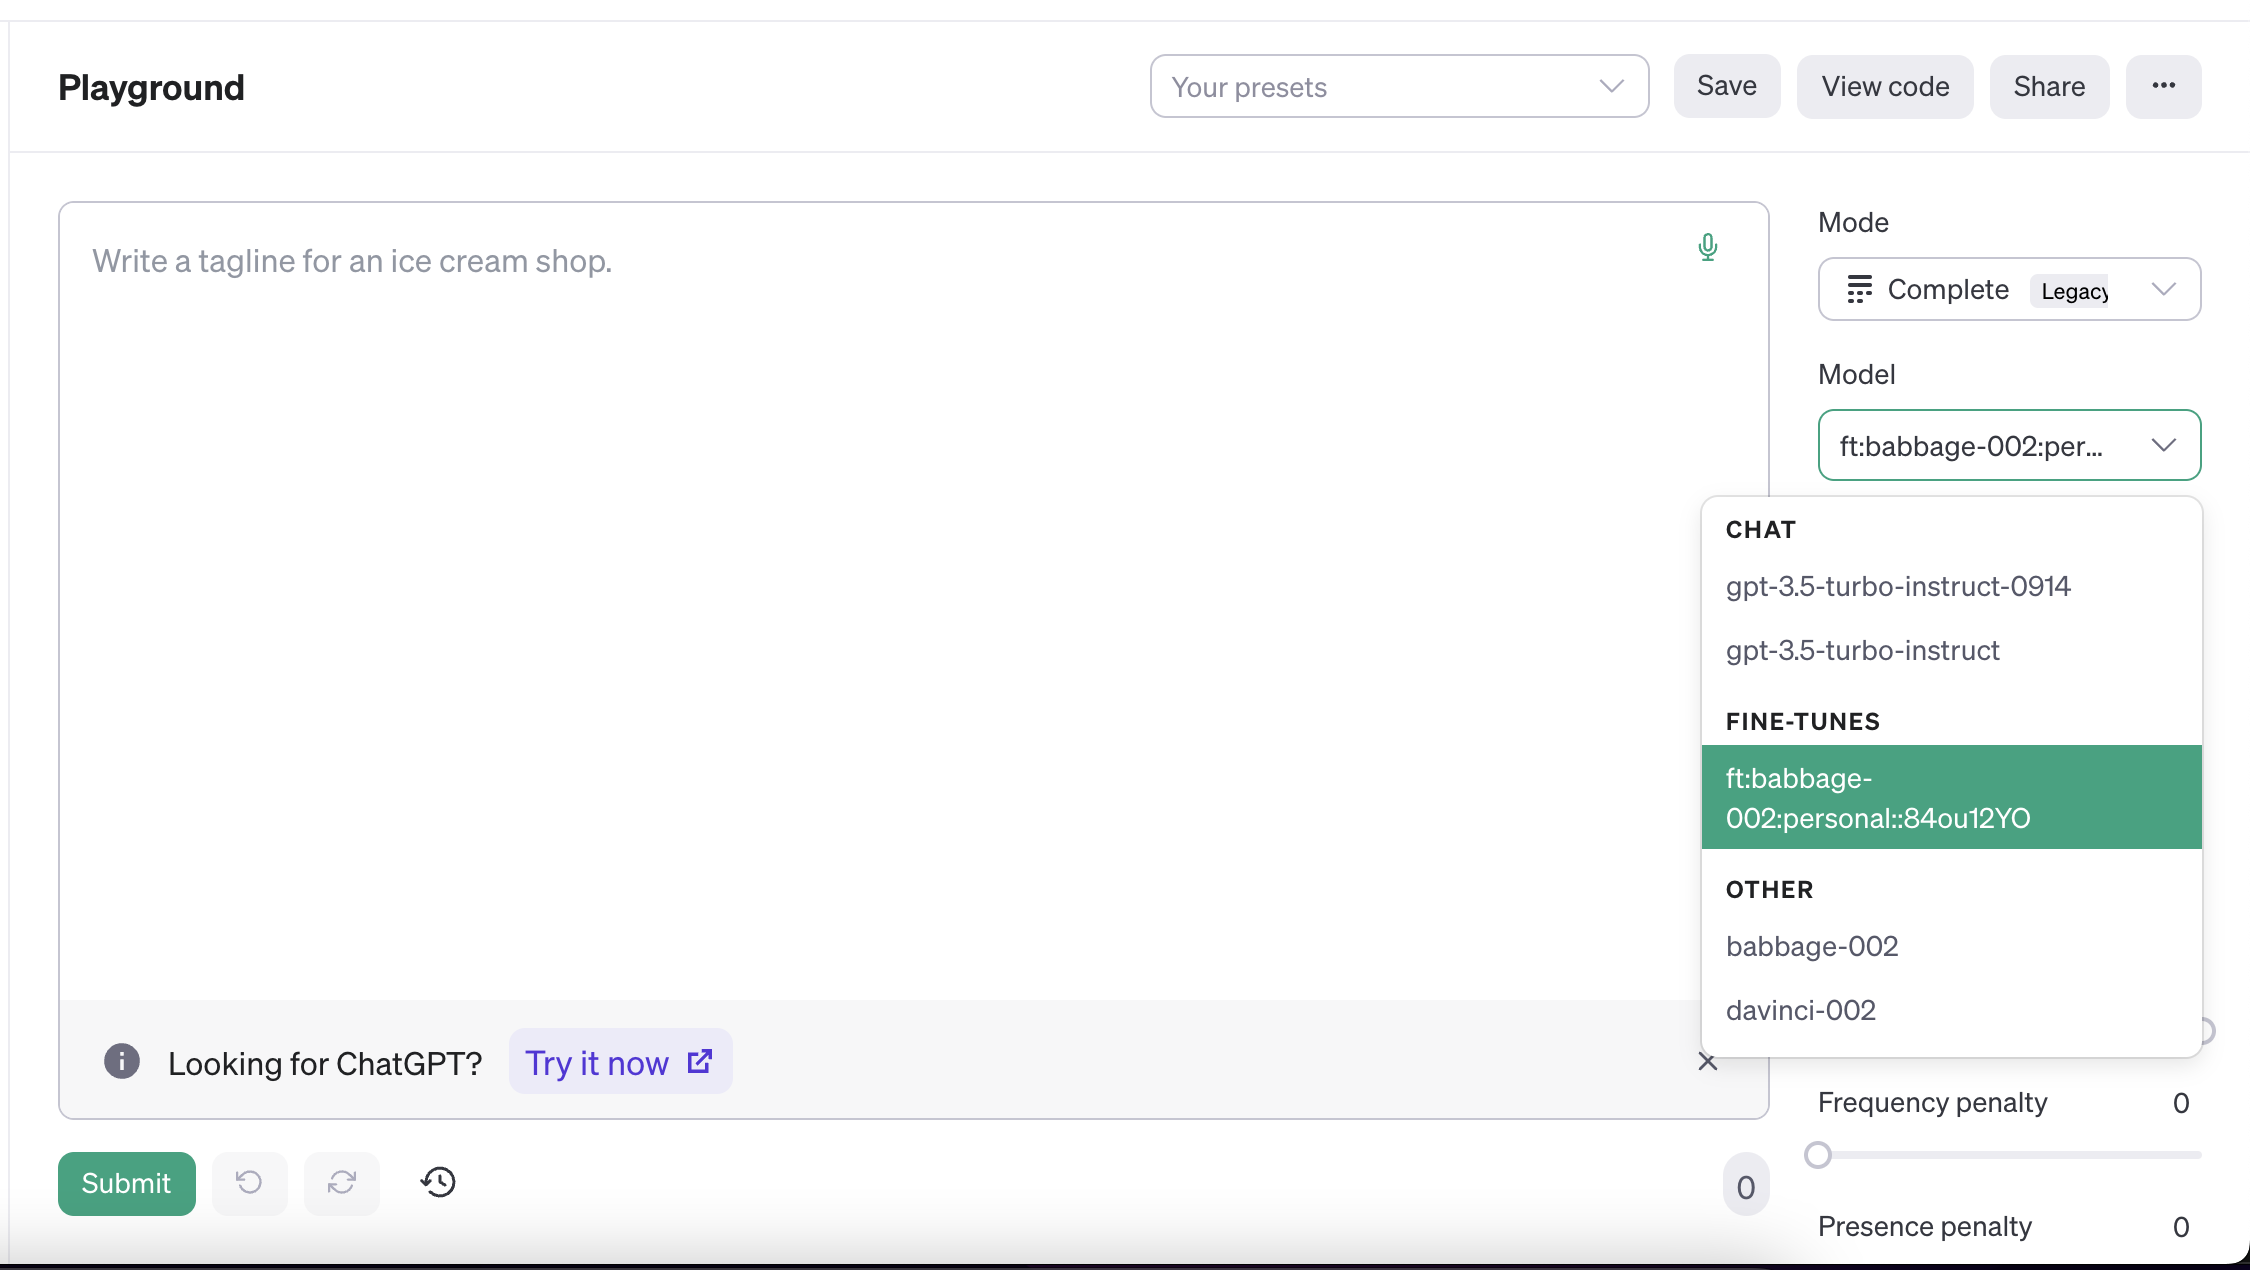
Your model is ready now - Congratulations 🎉 !! To test it out, go to: https://platform.openai.com/playground
Select mode as Complete:

Now select the model as the one you just trained and use the play-ground for testing it:
Now you can use this model instead of gpt 3.5, davinci or others and make chat bots.
You can use my GitHub repo as a reference (you can contribute too):.
If you like this tutorial, comment below if I should make a tutorial on training you datasets using pdfs, csv, links or txt files. See y'all soon :)


