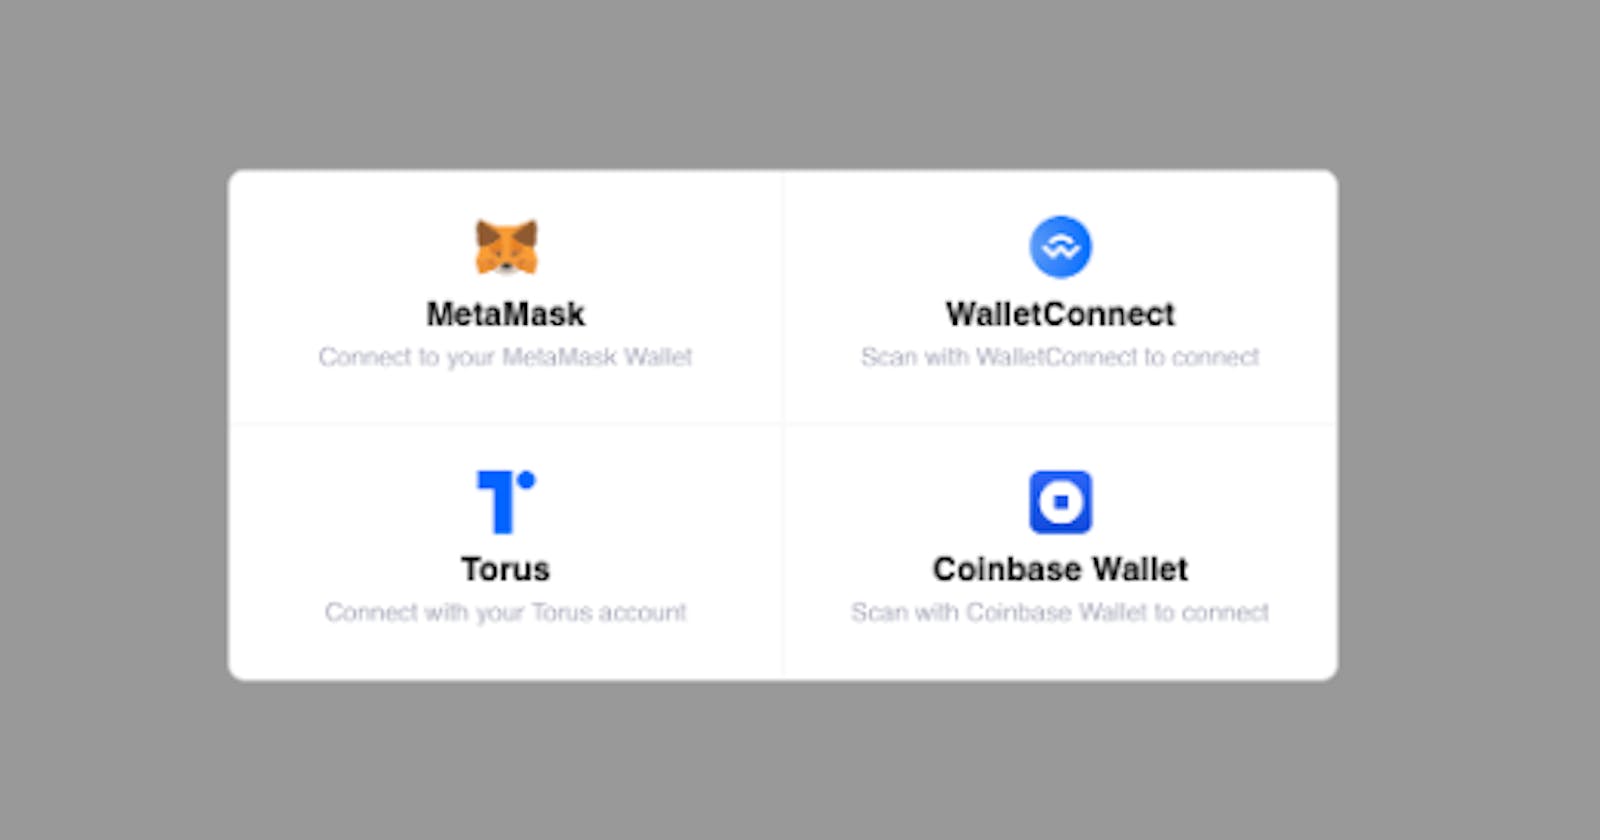
Some pretty smart people made a library called - Web3modal to make the process of integrating wallets easy for us. However, when I first tried using this supposedly “easy-to-use” library. I had a hard time configuring it on my web app.
So, let’s make it simple. Shall we?
But first, let’s see what does its official document has to say? It says and I quote:
A single Web3 / Ethereum provider solution for all Wallets.
By default Web3Modal Library supports injected providers like (Metamask, Tally, Dapper, Gnosis Safe, Frame, Web3 Browsers, etc) and WalletConnect, You can also easily configure the library to support Portis, Fortmatic, Squarelink, Torus, Authereum, D'CENT Wallet and Venly.
I know, I know what you’re thinking: that if you only had to read the official documentation here, you would be doing it on their website. But hey have patience we’re getting there!
Let’s start with what exactly can you connect and how we’ll see later:
Like the official document says, you can connect: **- Injected Providers like Metamask
- WalletConnect
- And can also support other wallets like Portis**
These are all essentially wallets only but each offers different features and security levels. Injected Providers essentially have Web3 injected in them like Metamak which is a chrome extension and is now also available as an app used for transactions and connecting dApps. WalletConnect is used for connecting desktop Dapps to mobile Wallets using end-to-end encryption by scanning a QR code. And wallets like Portis rather than having their own app, they provide SDK so that each dapp can integrate it.
I hope I made the distinction among the three easy to understand. If not, the only catch here is that it’s possible to integrate all of the above-mentioned wallets using the Web3Modal library made by some pioneers in the Web3 industry.
Now, let’s get our hands dirty and try to understand its configurations line by line:
The first step is pretty obvious: To install the Web3Modal NPM package
npm install --save web3modal
#or
yarn add web3modal
(Not gonna lie, I was confused, if I should add this or not haha)
Secondly, import the web3modal package and provider options (now what’s that? we’ll get to that sometime)
import Web3 from "web3"
import Web3Modal from "web2modal

consr providerOptions = {
/* See Provider Options Section */
};
For now, just trust me and leave the provider options empty.
Next step is where all the dirty work happens,
const web3Modal = new Web3Modal({
  network: "mainnet", // optional
  cacheProvider: true, // optional
  providerOptions // required
});
Here, we’re creating an instance of a web3Modal that takes objects. Namely, there are 3- “network”, “cacheProvider” and “providerOptions” , out of which the former two are optional and the last one is required and it’s the same thing I asked you to trust me with.
Let’s dissect the optional ones first:
- Network: This is used to mention the network you’re working with like - Mainnet. You can also mention test nets like Ropsten, Rinkeby, etc.
- CacheProvider: a built-in option for you to automatically cache the connected provider. By default, it is set to false. If you wish to set it to true, this is all you need to do: Set it to true first. And simply do the following to connect it:
const web3Modal = new Web3Modal({ cacheProvider: true });
if (web3Modal.cachedProvider) {
await web3Modal.connect();
}
Now let’s dissect the part, I’ve been asking you to trust me with:
- providerOption: This option is used to mention all the providers you want your web app to have.
If you want to connect injected providers such as MetaMask, it’s fairly easy to connect but however, if you want to connect different wallets like WalletConncet, Portis, squarelink , etc, you need to import their providers.
For example, if you wish to connect Portis, walletConnect this id how you need to import first:
import WalletConnectProvider from "@walletconnect/web3-provider";
Similarly, you can import any wallet provider of your choice, given it’s supported by web3Modal.
This is how you’ll configure your “providerOption” if you were to integrate walletConnect:
providerOptions= {{
 walletconnect: {
          package: WalletConnectProvider, //required
          options: {
                      infuraId: "INFURA_ID"
                   }
            },
Obviously don’t forget to import it first!
Notice how it's an object, you can add multiple wallets of your choice as an object.
That’s all you need to do to integrate. Fairly simple right! In the end, just call the function to connect and integrate the provider to your app by writing the following code:
const provider = await web3Modal.connect();
const web3 = new Web3(provider);

});
That’s all you need to do! By the way, did I tell you- You can also change the theme and display by just adding the property “theme”. Please read the official documentation and become a master at it!
I had fun writing my first-ever blog! See you in the next one!
